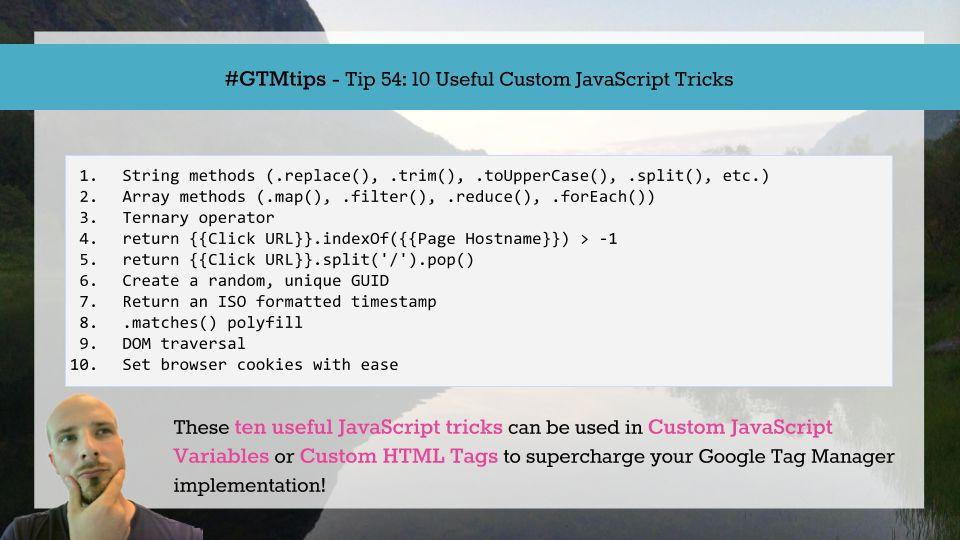
Are you looking to elevate your WordPress site to the next level? If so, adding custom JavaScript might just be the secret ingredient you’re missing! Whether you want to enhance user interaction, streamline functionality, or simply add some flair, JavaScript offers a world of possibilities. But if you’re not a coding whiz, the thought of diving into custom scripts can feel a bit daunting. Fear not! In this article, we’ll guide you through five straightforward methods to seamlessly integrate custom JavaScript into your WordPress site, along with some handy tips to make the process smooth and efficient. By the end, you’ll not only feel empowered but also excited to unlock new features and functionalities that will captivate your visitors. Ready to get started? Let’s jump in!
How to Enhance Your WordPress Site with Custom JavaScript
Adding custom JavaScript to your WordPress site can significantly enhance its functionality and user experience. Whether you want to implement unique features, improve performance, or make minor adjustments to existing elements, JavaScript offers a plethora of opportunities. Below, we’ll explore several effective methods to seamlessly integrate your custom scripts.
The Theme Customizer is one of the simplest ways to add JavaScript if your theme supports it. Navigate to Appearance > Customize and look for an option to add custom scripts. This method is straightforward and often requires no coding knowledge. Just paste your JavaScript code into the designated area, and you’re good to go!
For those looking for a more robust solution, using a plugin can be ideal. There are numerous plugins available that simplify the process of adding custom JavaScript. Options like Simple Custom CSS and JS allow you to not only insert your scripts but also specify where they load (in the header or footer). This flexibility can drastically improve your site’s performance and load times.
Another popular approach is to enqueue your scripts in the functions.php file of your theme. This method is particularly favored by developers, as it allows for better control and organization of your scripts. Here’s a quick example to get you started:
    function my_custom_scripts() {
        wp_enqueue_script('my-custom-js', get_template_directory_uri() . '/js/custom.js', array('jquery'), null, true);
    }
    add_action('wp_enqueue_scripts', 'my_custom_scripts');
Additionally, you might want to consider conditional loading, which enables you to load scripts only on specific pages or post types. This can prevent unnecessary loading across your entire site and improve performance. Here’s a simple setup:
    if (is_page('contact')) {
        wp_enqueue_script('contact-js', get_template_directory_uri() . '/js/contact.js', array(), null, true);
    }
Lastly, always remember to test your JavaScript thoroughly before going live. Utilizing browser developer tools can help identify any potential issues or conflicts with other scripts on your site. By carefully integrating your custom JavaScript, you’ll not only enhance functionality but also create a more engaging experience for your visitors.
Understanding the Benefits of Custom JavaScript for Your Website
Integrating custom JavaScript into your WordPress site can elevate its functionality to a whole new level. By tailoring scripts to your specific needs, you can create unique user experiences that set your website apart from the competition. Whether it’s for enhancing interactivity or improving performance, custom JavaScript offers a range of benefits that are hard to overlook.
Enhanced User Experience: Custom JavaScript allows you to implement interactive elements that captivate your audience. From dynamic content updates to engaging animations, these features can significantly improve the way users interact with your site. A well-crafted script can transform a static page into a vibrant environment that encourages visitors to stay longer and explore more.
Improved Performance: Pre-built themes and plugins often come with unnecessary code that can slow down your site. By using custom JavaScript, you can streamline functionality, loading only the essential scripts required for your site’s specific needs. This leads to faster load times and a smoother user experience, both of which are critical factors for SEO and user retention.
Flexibility and Control: With custom JavaScript, you have the freedom to design features that perfectly align with your brand vision. You can easily adjust scripts to match your evolving business goals, whether that’s adding a new feature or refining an existing one. This flexibility means you won’t be limited by the capabilities of standard plugins or themes, enabling you to innovate without constraints.
| Custom JavaScript Benefits | Impact on Your Website |
|---|---|
| Personalization | Tailored experiences based on user behavior. |
| Enhanced Functionality | Custom features that meet specific needs. |
| Reduced Plugin Dependence | Less reliance on multiple plugins, reducing potential conflicts. |
| Better Analytics | Track user interactions more effectively. |
Ultimately, the strategic use of custom JavaScript can transform your WordPress website into an engaging platform that not only attracts visitors but also fosters loyalty. The ability to create bespoke solutions for your audience ensures that your site not only meets their needs but exceeds their expectations.

Exploring the Best Methods to Add JavaScript to WordPress
Adding JavaScript to WordPress can significantly enhance the functionality of your site, allowing for tailored user experiences and dynamic content. Whether you’re looking to implement simple scripts or complex functionalities, there are several effective methods to do so. Let’s dive into the best approaches, each with its own merits.
One of the most straightforward methods is to utilize the Theme Customizer. Within your WordPress dashboard, navigate to Appearance > Customize > Additional CSS. While this area primarily focuses on CSS, many themes now allow you to insert custom JavaScript as well. This approach is particularly useful for quick scripts that modify existing features or add small enhancements. Just be cautious, as not all themes support JavaScript input here.
If you want greater control and organization, consider using a Child Theme. Creating a child theme ensures that your custom scripts won’t be lost during theme updates. Simply enqueue your JavaScript file in the child theme’s functions.php. This method not only keeps your site tidy but also adheres to WordPress coding standards, ensuring compatibility and performance. Here’s a quick snippet to get you started:
function mycustomscripts() {
    wpenqueuescript('my-script', getstylesheetdirectoryuri() . '/js/my-script.js', array('jquery'), null, true);
}
addaction('wpenqueuescripts', 'mycustomscripts');
Another popular approach is to utilize plugins specifically designed for adding custom scripts. Plugins such as Insert Headers and Footers or Custom CSS & JS allow users to add JavaScript easily without modifying the theme files directly. This is an excellent option for those who prefer a user-friendly interface and don’t want to delve into code. Here are some benefits of this method:
- User-friendly: Simple interface for non-coders.
- Flexible: Easily manage scripts for different pages.
- Safe: Reduce the risk of breaking your site with coding errors.
For users focused on performance, consider using Google Tag Manager. This powerful tool allows for comprehensive control over your scripts and tracking codes, enabling you to deploy changes without altering your website’s codebase. Tag Manager is particularly useful for marketers, as it supports various tracking capabilities and simplifies the process of integrating third-party services.
| Method | Best For | Ease of Use |
|---|---|---|
| Theme Customizer | Quick changes | Easy |
| Child Theme | Custom scripts | Moderate |
| Plugins | User-friendly | Very Easy |
| Google Tag Manager | Advanced tracking | Moderate |
Each of these methods provides unique advantages, catering to various needs and skill levels. Whether you prioritize simplicity or customization, WordPress offers flexible options to incorporate JavaScript into your site seamlessly. Choose the method that aligns best with your goals and watch your website transform into a more interactive platform.
Using the Customizer for Quick JavaScript Tweaks
The WordPress Customizer isn’t just for visual tweaks; it can also be a handy tool for adding simple JavaScript modifications. By leveraging the Customizer, you can inject custom scripts that enhance interactivity without cluttering your theme’s files. This method allows you to see changes in real time, making it easier to experiment with different scripts until you find the perfect fit for your site.
To get started, head to the WordPress admin dashboard and navigate to Appearance → Customize. Once inside the Customizer, look for the Additional CSS section, which serves as a great place to add JavaScript as well. Here’s how you can effectively make use of this feature:
- Quick Script Insertion: You can add simple scripts directly to the footer of your site using the
Another powerful use of JavaScript in the Customizer is to enhance user experience by adjusting UI elements dynamically. Consider the following table that showcases examples of quick JavaScript tweaks you can test:
Action JavaScript Snippet Toggle Element Visibility Change Background Color Scroll to Top Button Utilizing the Customizer for your JavaScript needs not only simplifies the process but also allows you to maintain a clean codebase. Remember to periodically check for any JavaScript errors in your console after making changes, ensuring a smooth user experience. By implementing these quick tweaks, you can significantly enhance the functionality and appeal of your WordPress site without diving deep into code files.
Incorporating JavaScript via Theme or Child Theme Files
Incorporating JavaScript into your WordPress site through theme or child theme files offers a powerful way to enhance functionality and interactivity. Utilizing the right files ensures that your custom scripts are loaded efficiently, without affecting the site's performance. Here’s how to do it effectively.
To add your JavaScript, you’ll want to focus on the
functions.phpfile of your theme or child theme. This is a critical file that allows you to interact with WordPress’s core functionality. You can enqueue your scripts safely, ensuring they load in the correct order and avoid conflicts with other scripts. Start by opening yourfunctions.phpfile and adding the following code:function add_custom_scripts() { wp_enqueue_script('custom-script', get_template_directory_uri() . '/js/custom-script.js', array('jquery'), null, true); } add_action('wp_enqueue_scripts', 'add_custom_scripts');This snippet tells WordPress to load your custom JavaScript file,
custom-script.js, from thejsdirectory of your theme. If you're using a child theme, replaceget_template_directory_uri()withget_stylesheet_directory_uri()to ensure the script is loaded from the child theme directory.When adding JavaScript, consider these best practices:
- Use Child Themes: Always work with a child theme to prevent losing changes during theme updates.
- Defer Loading: Load your scripts in the footer to improve page load times.
- Test Thoroughly: After adding your script, check for any JavaScript errors in the browser's console.
Additionally, keep your custom scripts organized. It’s advisable to set up a dedicated
jsfolder within your theme or child theme, where all your JavaScript files reside. This not only enhances maintainability but also keeps your file structure clean. Below is a simple structure you might follow:Directory Description /wp-content/themes/your-theme/js/ Custom JavaScript files /wp-content/themes/your-theme/css/ Custom CSS files /wp-content/themes/your-theme/images/ Image assets By following these techniques, you can incorporate JavaScript into your WordPress site cleanly and efficiently. This method not only enhances your site’s functionality but also keeps your code organized and maintainable.
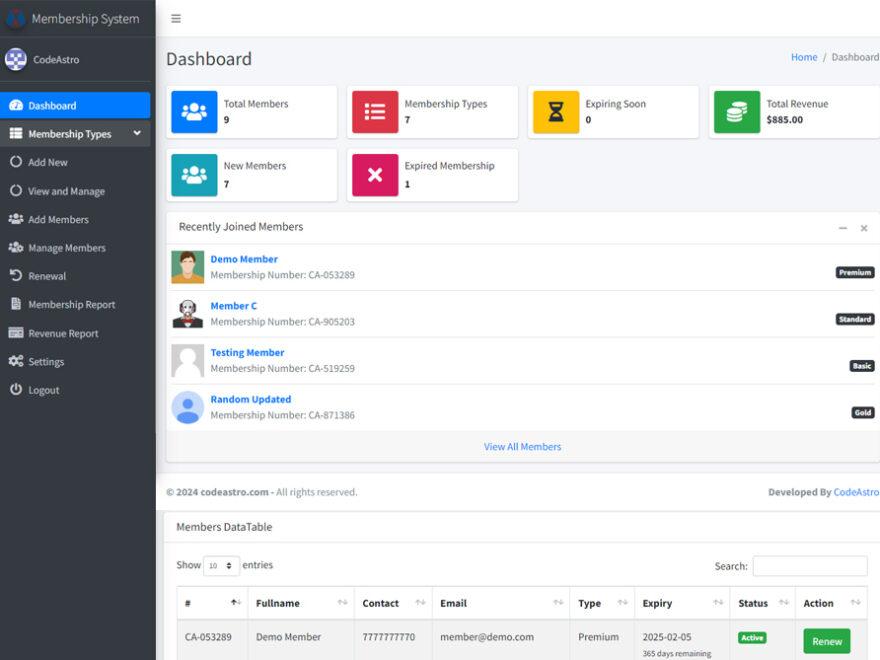
Leveraging Plugins for Easy JavaScript Management
When it comes to managing JavaScript in WordPress, plugins can be a game changer. They provide an efficient way to add, manage, and even conditionally load scripts without having to dive deep into the theme’s code. This versatility is especially useful for those who may not be comfortable with coding but still want to enhance their site’s functionality.
Here are some benefits of using plugins for your JavaScript needs:
- User-friendly Interface: Most plugins come with a straightforward dashboard that allows you to add custom scripts easily. You don’t need to touch any code.
- Script Management: Plugins often provide options to organize your scripts, enabling you to enable or disable them as needed, which is ideal for troubleshooting.
- Conditional Loading: You can specify where and when certain scripts should load, improving your site’s performance by reducing unnecessary script loading on pages where they aren’t needed.
For example, the Insert Headers and Footers plugin allows you to add JavaScript to the header or footer of your site seamlessly. This means you can manage your custom tracking codes or third-party integrations without hassle. Similarly, plugins like WPCode let you insert snippets of code with full control over where it appears on your website.
Another advantage is the ability to update or remove scripts without editing theme files. This is crucial, especially if you update your theme frequently. Using a plugin ensures that your custom JavaScript remains intact, avoiding potential conflicts or loss of functionality after updates. Here’s a simple comparison table to illustrate popular JavaScript management plugins:
Plugin Name Features Best For Insert Headers and Footers Easy script insertion, no coding required Beginners WPCode Code snippets, conditional loading Advanced users Custom JavaScript & CSS Inline scripts, CSS support Customization Ultimately, leveraging plugins for JavaScript management not only simplifies the process but also empowers you to add functionality that enhances user experience. So, whether you’re looking to implement tracking codes, custom features, or simply tidy up your script management, plugins can make your life a lot easier.
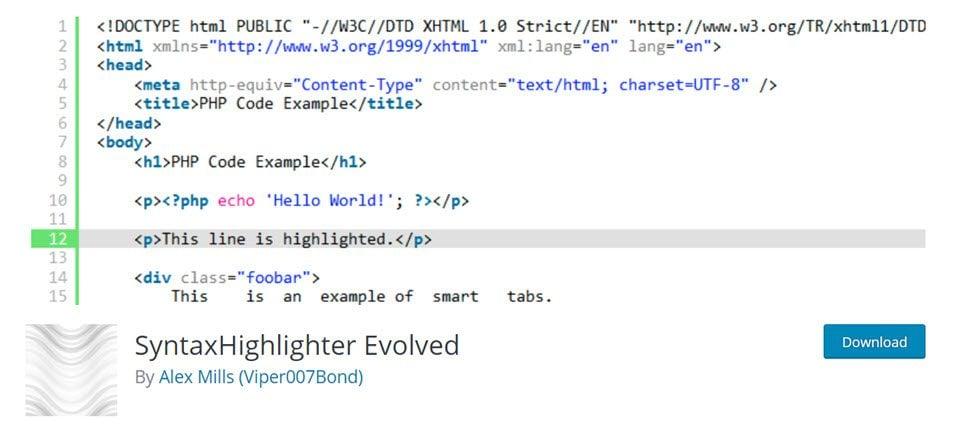
Utilizing the Code Snippets Plugin for Safe Custom Scripts
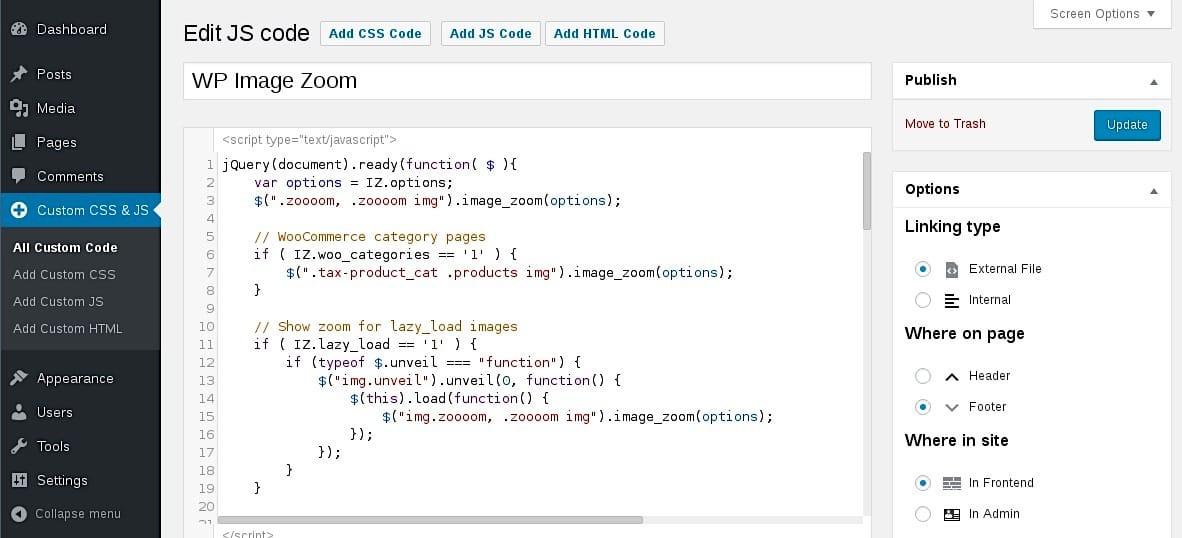
Using a Code Snippets plugin is one of the safest ways to add custom JavaScript to your WordPress site without compromising its integrity. This method allows you to run scripts without editing your theme files directly, which can lead to errors or even site crashes. Here's how to make the most of this powerful tool:
First off, let's talk about ease of use. Code Snippets plugins typically offer a user-friendly interface that allows you to:
- Quickly add and manage multiple snippets
- Enable or disable snippets with a click
- Organize snippets by categories for better management
Moreover, with the Code Snippets plugin, you gain the advantage of peace of mind. Each snippet is executed in a safe environment, meaning you won’t run into issues that might arise from poorly coded scripts. The rollback feature ensures that if something goes wrong, you can revert back to a previous state without technical hassle. It’s like having a safety net for your coding adventures!
When you create a new snippet, you can easily specify where it should run. For instance, you might want your JavaScript to load only in the header or footer. This flexibility not only enhances performance but also ensures that your scripts don’t conflict with the rest of your site. Here’s a simple example of how you might structure a snippet:
Snippet Title Location Purpose Custom Popup Footer Show a promotional popup on page load Scroll to Top Header Implement a smooth scroll-to-top button a standout feature is the ability to share snippets across multiple sites. If you manage several WordPress installations, you can save your favorite snippets and import them into other projects. This option not only saves time but also reduces the repetitive process of coding the same functionalities across different websites. By utilizing this approach, you elevate your workflow and ensure consistency in the features you offer.
Best Practices for Writing and Testing Your Custom JavaScript
When it comes to writing and testing your custom JavaScript for WordPress, adhering to best practices can make a significant difference in both functionality and performance. Here are some essential guidelines to consider:
- Keep It Modular: Break your JavaScript code into smaller, reusable functions. This not only enhances readability but also makes debugging easier. Modular code allows you to isolate issues and test individual components without affecting the entire script.
- Utilize Console Logging: Use console.log statements generously during development. This simple practice can help you trace the flow of your code and pinpoint errors quickly. Just remember to remove or comment out unnecessary logs before going live!
- Validate Your Code: Use tools like JSHint or ESLint to validate your JavaScript code. These tools help catch syntax errors, potential bugs, and stylistic issues, ensuring your code adheres to industry standards.
Testing your custom JavaScript is just as crucial as writing it. Here are some methods to ensure your code works seamlessly:
- Use a Local Development Environment: Set up a local WordPress installation to test your JavaScript. This allows for quick iterations and prevents issues on your live site. Tools like Local by Flywheel or XAMPP can help you get started.
- Leverage Browser Developer Tools: Most modern browsers come with built-in developer tools that allow you to inspect elements, view console logs, and debug your JavaScript. Familiarize yourself with these tools to streamline your testing process.
- Conduct Cross-Browser Testing: Ensure your custom JavaScript functions correctly across all major browsers. Use tools like BrowserStack or LambdaTest to test your code on various browsers and devices, ensuring a consistent user experience.
Additionally, consider implementing version control for your JavaScript files. Using Git not only allows you to track changes but also facilitates collaboration if you're working within a team. Here’s a simple table illustrating the benefits of version control:
Benefit Description Change Tracking Easily view and revert to previous versions of your code. Collaboration Multiple developers can work on the same project without conflicts. Backup Your code is stored in a remote repository, providing a backup option. By following these , you'll not only enhance the quality of your code but also improve the overall performance and reliability of your WordPress site. Happy coding!

Troubleshooting Common Issues with JavaScript in WordPress
When incorporating custom JavaScript into your WordPress site, you may encounter some common issues that can disrupt your site's functionality and user experience. Understanding these issues and knowing how to troubleshoot them is essential for maintaining a smooth-running website.
One of the most frequent problems is JavaScript conflicts caused by multiple scripts attempting to access the same resources. This can lead to errors and unexpected behavior. To troubleshoot this, you can:
- Disable other plugins temporarily to identify any conflicts.
- Check the browser console for error messages that specify which scripts are conflicting.
- Use the
jQuery.noConflict()method if you're using jQuery alongside other libraries.
Another common issue arises from script loading order. If your custom JavaScript relies on jQuery or other libraries that haven’t loaded yet, it can lead to functionality problems. To ensure the correct loading order, you can:
- Utilize the
wpenqueuescript()function to manage dependencies properly. - Place your custom scripts in the footer instead of the header by setting the appropriate parameter in the enqueue function.
- Verify that your scripts are not being blocked by caching plugins or browser caching.
Lastly, issues may arise from incorrect file paths or permissions. If your JavaScript file isn’t loading, here’s what to check:
Possible Issue Solution File path is incorrect Double-check the URL in your enqueue script function. Permissions are not set correctly Ensure file permissions allow public access (typically 644 for files). File is not uploaded Confirm that the JavaScript file exists in the specified directory. Tackling these common issues head-on will help you ensure that your custom JavaScript enhances your WordPress site instead of hindering it. By following these troubleshooting steps, you can create a seamless experience for your visitors while leveraging the full potential of custom scripts.

Final Tips to Optimize Your Site with Custom JavaScript
When it comes to optimizing your site with custom JavaScript, there are a few final touches that can significantly enhance performance and user experience. Always keep your scripts lightweight. Minifying your JavaScript files helps reduce load times and improves overall efficiency. Use tools like UglifyJS or Google Closure Compiler to remove unnecessary spaces and comments from your code.
Another critical aspect is the order in which scripts are loaded. Consider placing your custom JavaScript at the bottom of your HTML files or using the
deferattribute in your

