Are you tired of wandering aimlessly in your Minecraft world, only to find endless oceans or towering mountains that seem to stretch on forever? If so, it might be time to take control of your virtual landscape and set a world border! Not only does this nifty feature help you define the limits of your realm, but it also adds a whole new layer of strategy and planning to your gameplay. Whether you’re a seasoned builder looking to enhance your projects or a newbie eager to shape your own adventure, establishing a world border can transform the way you experience Minecraft. In this article, we’ll walk you through the simple steps to set a world border, ensure your creations are safe, and unlock new possibilities for exploration and creativity. Let’s dive in and discover how you can create the perfect confines for your Minecraft masterpiece!
Understanding the World Border Concept in Minecraft
In the expansive landscapes of Minecraft, players often find themselves exploring vast terrains, but what if you want to set limits on how far your players can journey? This is where the world border concept comes in, acting as an invisible barrier that defines the playable area of your Minecraft world. Understanding how to implement this feature can significantly enhance your gameplay experience, especially in multiplayer settings.
Setting a world border allows you to:
- Control Exploration: By limiting the distance players can travel, you can encourage them to focus on specific areas, enhancing collaboration and resource sharing.
- Optimize Performance: Fewer chunks loaded means better performance, especially on servers. This reduction can help minimize lag and improve gameplay smoothness.
- Create Custom Maps: If you’re designing a mini-game or an adventure map, establishing a world border helps maintain the intended experience and prevents players from wandering off.
Setting a world border is straightforward. Simply use the command /worldborder set , where /worldborder center , allowing you to customize where the border will be located. For example, if you want the border to start at coordinates (100, 100), you’d enter:
| Command | Purpose |
|---|---|
| /worldborder set 1000 | Sets the world border to a diameter of 1000 blocks. |
| /worldborder center 100 100 | Positions the world border center at coordinates (100, 100). |
Additionally, you can adjust the world border over time, allowing for dynamic gameplay experiences. Use the command /worldborder set to set the new size with a gradual transition over a specified duration. This can add an exciting twist to your server events, creating tension as players race against the changing landscape.
Understanding and utilizing the world border effectively can transform your Minecraft experience. Whether you’re looking to foster a tighter community, manage performance, or craft engaging gameplay scenarios, mastering this feature opens up a world of possibilities. So gear up, set your boundaries, and let the adventures begin!
Exploring the Benefits of Setting a World Border
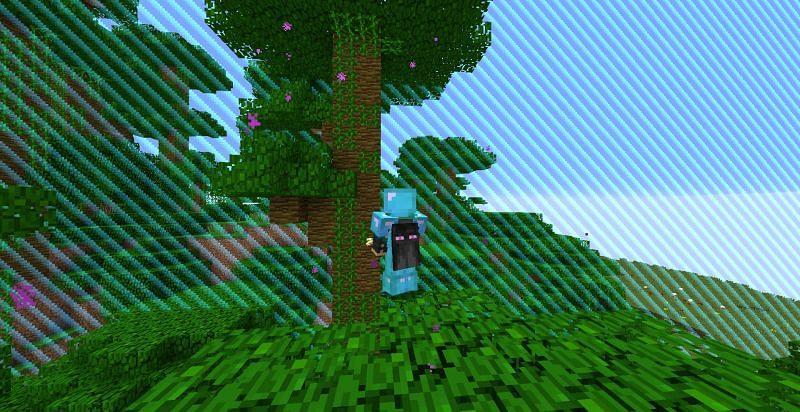
Setting a world border in Minecraft is not just a technical adjustment; it can also significantly enhance your gameplay experience. By defining the limits of your world, you gain a clearer structure for your adventures, and it can help prevent the overwhelming sensation of infinite exploration. Here are some compelling benefits of implementing a world border:
- Focused Exploration: With a defined border, players can concentrate their efforts on a specific area, making it easier to discover resources, villages, and unique biomes.
- Performance Improvement: Limiting the size of your world can lead to enhanced performance, especially on servers, as it reduces the amount of chunks the game needs to load and render.
- Enhanced Community Interaction: If you’re running a multiplayer server, a world border can foster community engagement as players band together to explore and conquer the designated area.
- Clear Rules for PvP and Building: A world border can create a more competitive edge in PvP scenarios, as players will have to strategize within a finite area, leading to dynamic encounters.
When deciding on the size of your world border, it’s essential to consider the type of gameplay you want to promote. For example, larger borders may allow for diverse landscapes and resources, while smaller borders can encourage more intense interactions. Here’s a simple table to help you visualize different border sizes and their potential impacts:
| Border Size | Gameplay Style | Recommended Use |
|---|---|---|
| 1000 blocks | Intense Resource Competition | Small Servers or PvP Arenas |
| 5000 blocks | Diverse Exploration | Normal Survival Play |
| 10000 blocks | Casual Discovery | Relaxed Multiplayer Sessions |
Ultimately, setting a world border is about tailoring your game to fit the experience you want. Whether it’s a tightly-knit community or sprawling adventures, a border can help you achieve that balance. Moreover, it introduces a strategic element to your gameplay that can make every resource and encounter feel more significant. So, take the leap and set your world border—it might just transform how you play Minecraft!
Step-by-Step Guide to Setting Your World Border
Setting a world border in Minecraft is an essential step for managing your game environment, especially on servers or in multiplayer maps. It helps define the playable area, ensuring players stay within boundaries and enhancing performance by limiting the amount of generated terrain. Here’s a straightforward way to establish your world border.
First, you’ll need to access the command console. If you’re in a single-player world, simply press T to open the chat window. For multiplayer servers, ensure you have the necessary permissions to enter commands. Here are the basic commands you’ll need:
- /worldborder set
- Sets the diameter of the border in blocks. - /worldborder center
- /worldborder add
- Increases the size of the border by a specified number of blocks. - /worldborder damage
– Sets how much damage players take when they cross the border.
To start, open your command console and type /worldborder set followed by the desired diameter. For instance, if you want to set a border of 1,000 blocks, you would enter:
/worldborder set 1000This command creates a circular border with a radius of 500 blocks from the center point (0,0). If you wish to adjust the center, you can use:
/worldborder center 100 100This will reposition your border’s center to the coordinates (100, 100). Remember to tailor the coordinates to your desired location!
Additionally, if you want to change how quickly players experience damage when they reach the border, use the following command:
/worldborder damage amount 5Here, players would take 5 points of damage per second after they cross the border. Adjust the amount based on how strict you want your border enforcement to be.
Once you’ve set your world border, it’s crucial to inform your players. A simple announcement using the chat feature can help everyone understand the new boundaries. You can also use the /title command to create a pop-up message for an eye-catching notification:
/title @a title {"text":"World Border Set!","color":"gold"}This will ensure everyone is aware and can adapt their gameplay accordingly. By taking these steps, you’ll create a more controlled and enjoyable Minecraft experience for everyone involved!
Choosing the Right Size for Your World Border
When it comes to setting a world border in Minecraft, one of the most crucial decisions you’ll make is choosing the right size for your border. The ideal border size depends on various factors, including your gameplay style, server capacity, and the type of experience you want to create for yourself and others. Let’s dive into some key considerations to help you determine the best world border size for your Minecraft adventures.
First and foremost, think about the number of players you expect to have on your server. If you’re running a small, intimate server with just a few friends, a tighter world border could enhance the sense of community and encourage exploration within a limited area. On the other hand, larger servers with many players might benefit from a broader border, allowing for more space to build, gather resources, and engage in PvP battles. Here’s a quick reference:
| Player Count | Recommended Border Size |
|---|---|
| 1-5 Players | 1000 - 1500 blocks |
| 6-20 Players | 2000 – 3000 blocks |
| 21+ Players | 4000+ blocks |
Next, consider the type of gameplay you want to promote. If your focus is on survival and exploration, a larger world border might be more enticing. Players can discover new biomes, find villages, and encounter unique mobs without feeling claustrophobic. However, if you’re organizing a mini-game or a competitive scenario, a smaller border can increase tension and excitement, forcing players to interact more frequently and strategically.
Additionally, think about the landscape and resources within your chosen border. A size that includes diverse biomes—like forests, mountains, and oceans—can create a richer experience for players. If your border is too small, you may end up limiting the variety of resources available, which can lead to frustration. Striking a balance between a manageable size and sufficient variety is key.
Lastly, don’t forget to experiment! Setting a world border is not a permanent decision. You can always adjust the size based on player feedback or changes in your server dynamics. Try starting with a moderate size and gradually expanding or contracting it as needed. This adaptability can keep your server engaging and ensure that players remain invested in their surroundings.
How to Adjust the World Border Settings
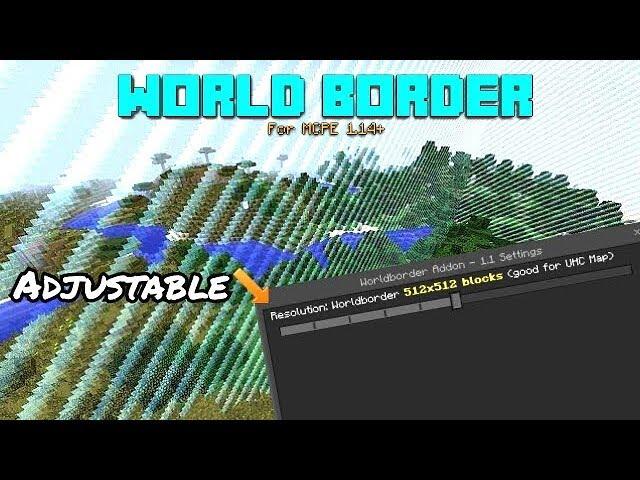
Adjusting the world border settings in Minecraft can be a game-changer for your playing experience. Whether you’re looking to create a confined area for a challenge or expand your exploration zone, knowing how to tweak these settings is essential. Here’s a quick guide on how to do it effectively!
First off, you’ll want to use the command /worldborder, which opens up a world of options. Here are some of the key commands you can use to adjust your world border:
/worldborder set– This command allows you to define the size of your world border. For example,/worldborder set 1000will create a border with a radius of 1000 blocks./worldborder center– Shift the center of your world border to a new location. This helps you control the area players can explore./worldborder add- Need to expand your border? Use this command to increase the size by the specified amount./worldborder damage– Set the damage players will take when crossing the border. A great way to deter players from straying too far!/worldborder warning- This command sends a warning to players when they’re near the border, giving them time to retreat.
For those who love visual aids, here’s a simple table summarizing the commands and their functions:
| Command | Function |
|---|---|
/worldborder set | Defines the size of the world border. |
/worldborder center | Changes the border’s center point. |
/worldborder add | Increases the border size by a set amount. |
/worldborder damage | Sets damage for crossing the border. |
/worldborder warning | Warns players near the border. |
When adjusting settings, consider the gameplay experience you want to create. A smaller world border can foster intense competition, while a larger one allows for more exploration and adventure. Play around with different settings until you find the perfect balance. Remember, you’re in control of your Minecraft universe, so make it uniquely yours!
Tips for Managing Resources Within Your World Border
Establishing a world border in Minecraft is just the first step; managing your resources effectively within that boundary is key to sustaining your adventure. By strategically planning your resource management, you can ensure a steady supply to fuel your builds, explorations, and battles. Here are some tips to optimize your resource management within your world border:
- Prioritize Resource Gathering: Identify which resources are essential for your gameplay style. Whether it’s wood for building, coal for smelting, or food for survival, focus your initial efforts on gathering these vital materials. Create a checklist and check off items as you collect them.
- Develop Renewable Resources: Set up farms for crops, animals, or even mob farms. This ensures that you always have a source of essential materials without having to venture too far or risk depleting your environment.
- Utilize Efficient Storage Solutions: Organize your storage area with labeled chests to keep track of your resources easily. Consider building a central storage hub that can cater to all your needs, separating items by category for quick access.
Resource management isn’t just about gathering; it’s also about conservation and smart use. As you design your world, keep in mind the importance of using materials efficiently:
- Craft Smartly: Before crafting, think about what you truly need. Sometimes, less is more. Analyze your projects and avoid overusing resources on less important items.
- Trade with Villagers: If you have access to a village, trading can be a fantastic way to obtain rare resources without extensive mining or gathering. Establish a good rapport with the villagers to unlock their best trades.
- Plan for Expansion: As your world evolves, so will your needs. Regularly reassess your resource inventory and adjust your gathering techniques accordingly. If you plan on expanding your builds, ensure you have ample resources to support that growth.
Lastly, consider collaborating with friends. Multiplayer mode allows for shared resources and responsibilities:
| Player Role | Primary Resource Focus | Tip |
|---|---|---|
| Builder | Wood, Stone | Use scaffolding for easy access to high builds. |
| Miner | Ores, Coal | Set up a branch mining system for efficiency. |
| Farmer | Food, Materials | Use bonemeal to speed up crop growth. |
By following these tips, you’ll not only manage your resources more effectively but also create a more enjoyable and sustainable gameplay experience within your world border. Happy crafting!
Common Mistakes to Avoid When Setting a World Border
When you’re ready to set a world border in Minecraft, avoiding common pitfalls can save you a lot of frustration down the line. Here are some key mistakes to steer clear of:
- Neglecting Backups: Always back up your world before making changes. Setting a world border can be a game-changer, and losing progress can be devastating.
- Setting an Inappropriate Size: Think about the size of your world border carefully. Too small, and you might feel restricted; too large, and the performance may suffer. Find a balance that works for your gameplay style.
- Ignoring Player Experience: If you’re in a multiplayer setting, consider your friends’ or community members’ experiences. A border that’s too close can ruin exploration and creativity.
Another common mistake is not using the correct commands. Minecraft has specific commands to set a world border, and using the wrong ones can lead to unexpected results. Understand the following commands:
| Command | Description |
|---|---|
/worldborder set | Sets the size of the world border. |
/worldborder center | Centers the world border at specified coordinates. |
Lastly, remember to communicate with your fellow players about the border. Transparency can help manage expectations and enhance the gaming experience. Not everyone may be on board with a sudden change, so it’s often best to discuss potential borders and gather feedback.
By being mindful of these common mistakes, you can set a world border that enhances your Minecraft experience rather than limits it. Happy crafting!
Engaging Your Players: The Impact of a World Border
Setting a world border in Minecraft can significantly alter the dynamics of your gameplay, especially when it comes to engaging your players. A well-defined world border can create a sense of adventure and urgency, encouraging players to explore the edges of their known universe while maintaining a controlled environment. This boundary can foster competition, teamwork, and strategic planning among players, enhancing their overall experience.
Here are some key benefits of implementing a world border:
- Encourages Exploration: Players will be driven to explore every inch of the map before they reach the border, making their journey more thrilling.
- Increases Competition: With limited space, players may feel compelled to compete for resources, leading to more intense interactions.
- Promotes Teamwork: In survival modes, players may need to collaborate to gather resources and defend their territory, strengthening community bonds.
- Enhances Narrative Building: The borders can be woven into the lore of your world, creating a rich backdrop for quests and adventures.
Implementing a world border isn’t just about limiting the players’ movements; it’s about crafting an experience that keeps them engaged. Consider adjusting the size of the border based on your players’ activities. A tighter border can lead to more excitement and urgency, while a larger one allows for a more relaxed exploration. This flexibility can be crucial in maintaining player interest and involvement over time.
Additionally, you might want to consider the aesthetics of the border itself. Implementing visual markers, such as colored glass or glowstone, can make the border more noticeable and intriguing. This not only enhances the visual appeal of your world but can also serve as a reminder of the limitations that exist, which can be a powerful motivator for players to engage in gameplay outside the border.
Lastly, here’s a simple table summarizing various border sizes and their potential impacts on gameplay:
| Border Size | Player Engagement | Recommended Game Mode |
|---|---|---|
| Small (1000 blocks) | High Competition | Survival |
| Medium (3000 blocks) | Balanced Exploration | Adventure |
| Large (5000 blocks) | Exploration Focused | Creative |
Expanding Your World: How to Modify the Border Later
Once you’ve established a world border in your Minecraft realm, you might find yourself wanting to tweak it a bit later on. Whether you’re expanding your territory for new adventures or adjusting it to suit your gameplay style, modifying the border is a straightforward process that can enhance your experience.
To alter the existing world border, you can use a few simple commands in the game. Start by accessing the command console and inputting the following command:
/worldborder set [time] Replace
/worldborder set 10000 60Here are a few tips to keep in mind when modifying your border:
- Plan Ahead: Consider your future gameplay needs before expanding the border. Will you be building extensive structures or exploring new biomes?
- Stay Aware: Keep in mind that larger borders can lead to more unexplored areas, which may contain mobs or resources you’ll want to access.
- Documentation: It might help to jot down the coordinates of key locations before changing the border, so you can seamlessly navigate your world.
If you want to visualize how your modifications affect the overall gameplay, a simple table comparing current and modified border settings can be quite useful:
| Current Border Size (blocks) | New Border Size (blocks) | Resize Time (seconds) |
|---|---|---|
| 5000 | 10000 | 60 |
| 10000 | 15000 | 120 |
| 15000 | 20000 | 180 |
By following these steps and keeping these tips in mind, you’ll be well on your way to modifying your world border to suit your needs. Not only does this allow for greater exploration, but it also opens up opportunities for creativity and collaboration in your Minecraft universe!
Troubleshooting Common World Border Issues
Setting a world border in Minecraft can enhance your gameplay experience, but sometimes things don’t go as planned. Here are some common issues you might face, along with troubleshooting tips to help you navigate them.
Border Not Visible
If you’ve set a world border but can’t see it, check the following:
- Clear Visibility: Ensure you’re not too far from the border. It may be invisible if you’re within the world border radius.
- Rendering Distance: Adjust your game’s rendering distance. A low setting can make borders difficult to see.
- World Border Command: Confirm that the command you used to set the border was correct. An incorrectly formatted command could lead to unexpected results.
Players Passing the Border
Players wandering outside the set world border can be a concern. To address this:
- Check Permissions: Ensure that you have the proper permissions set in your server configuration. Some players may have bypass permissions.
- World Border Settings: Use the command
/worldborder set properly and ensure the size reflects your intended border. - Force Entry Prevention: Implement plugins that prevent players from passing the border if you’re running a server.
Performance Issues
Setting a world border can sometimes lead to performance issues, especially on servers. Here’s how to mitigate them:
- Optimize Server Settings: Review your server’s performance settings to ensure they can handle the border without stress.
- Adjust Border Size: Consider setting a smaller border if you notice lag or performance drops.
Border Resize Problems
If you’re trying to resize your world border and it’s not working properly, follow these tips:
- Check Command Syntax: Ensure you’re using the correct command format for resizing.
- Check Server Lag: Sometimes, server lag can prevent immediate changes. Wait a moment and check again.
- Console Logs: Look at the server console for any error messages related to the border command.
Troubleshooting Table
| Issue | Solution |
|---|---|
| Border Not Visible | Check visibility settings and command accuracy. |
| Players Passing Border | Review permissions and implement entry prevention plugins. |
| Performance Issues | Optimize settings and consider a smaller border. |
| Border Resize Problems | Verify command syntax and check server lag. |
Frequently Asked Questions (FAQ)
Q&A: How to Set a World Border in Minecraft
Q: What is a world border in Minecraft?
A: Great question! The world border is essentially a limit that you can set around your Minecraft world. It helps manage the size of the world you’re exploring, creating a boundary that players cannot cross. This can be particularly useful for multiplayer servers or survival worlds where you want to keep players within a certain area.
Q: Why would I want to set a world border?
A: There are several reasons! If you’re running a server, a world border can help reduce lag by limiting the area that players can explore. It also encourages players to interact more with their environment rather than wandering off into the unknown. Plus, it can create a more contained and exciting gameplay experience, especially in survival or challenge scenarios.
Q: How do I actually set a world border?
A: It’s super easy! If you’re in creative mode or have the appropriate permissions on a server, you can use a simple command. Just type /worldborder set into the chat, replacing /worldborder set 1000 will set a border with a diameter of 1000 blocks. Simple as that!
Q: Can I change the world border after I set it?
A: Absolutely! You’re not locked in once you set it. You can easily adjust the size at any time by using the same command with a different number. Additionally, you can use /worldborder set to smoothly transition the border to a new size over a specified duration, which can make for a dramatic gameplay element!
Q: What happens if I try to cross the world border?
A: If you attempt to cross the world border, you’ll be stopped. You’ll see a message indicating that you’ve reached the boundary, and you’ll be pushed back inside. This ensures that players can’t venture beyond the limits you’ve set.
Q: Are there any visual cues for the world border?
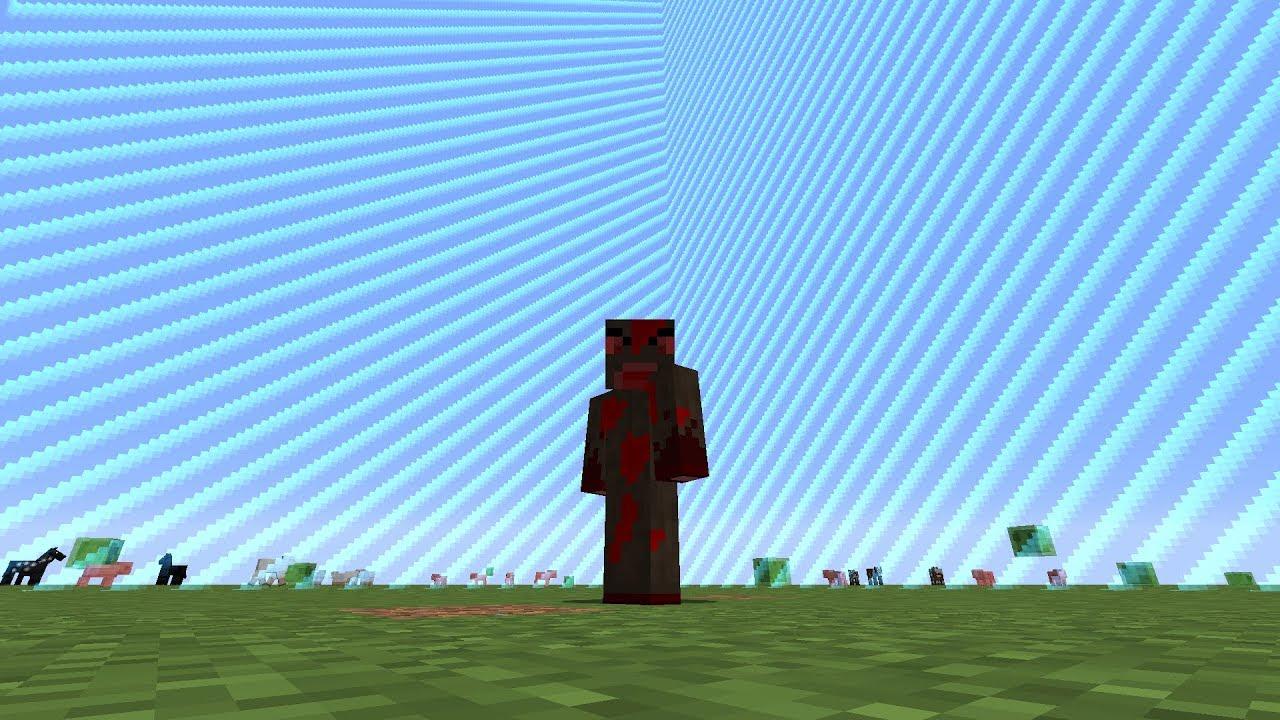
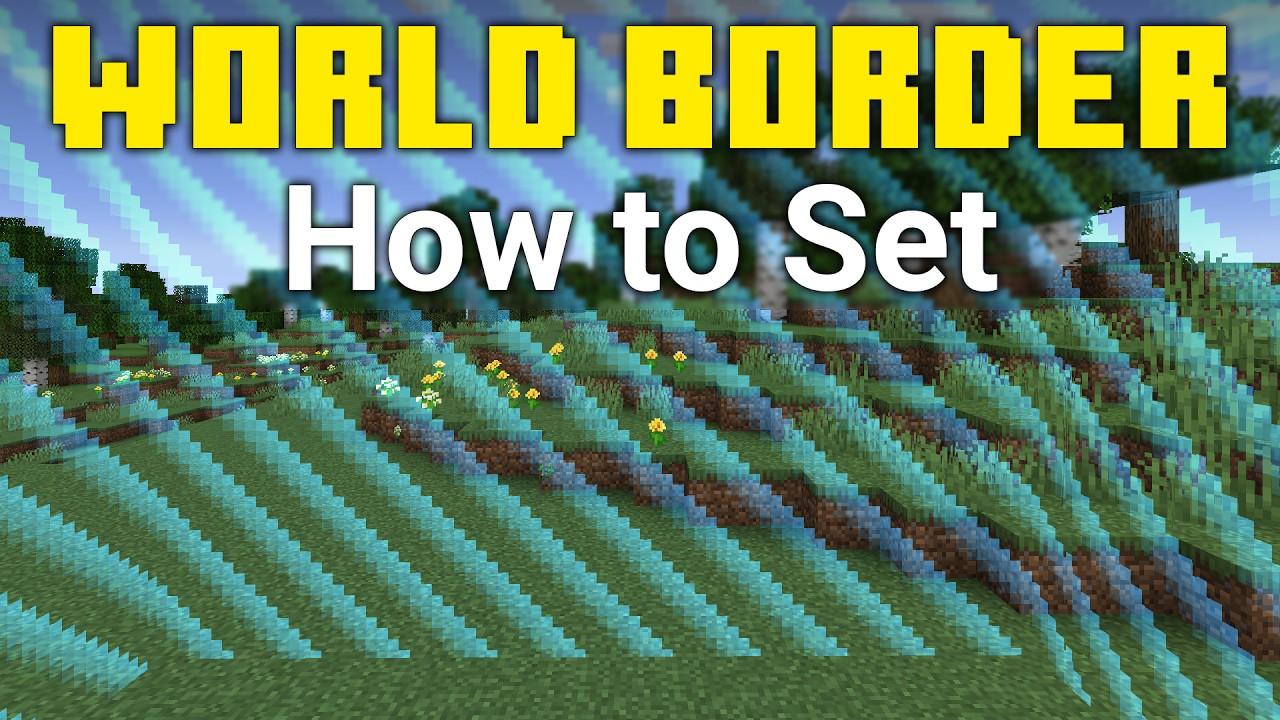
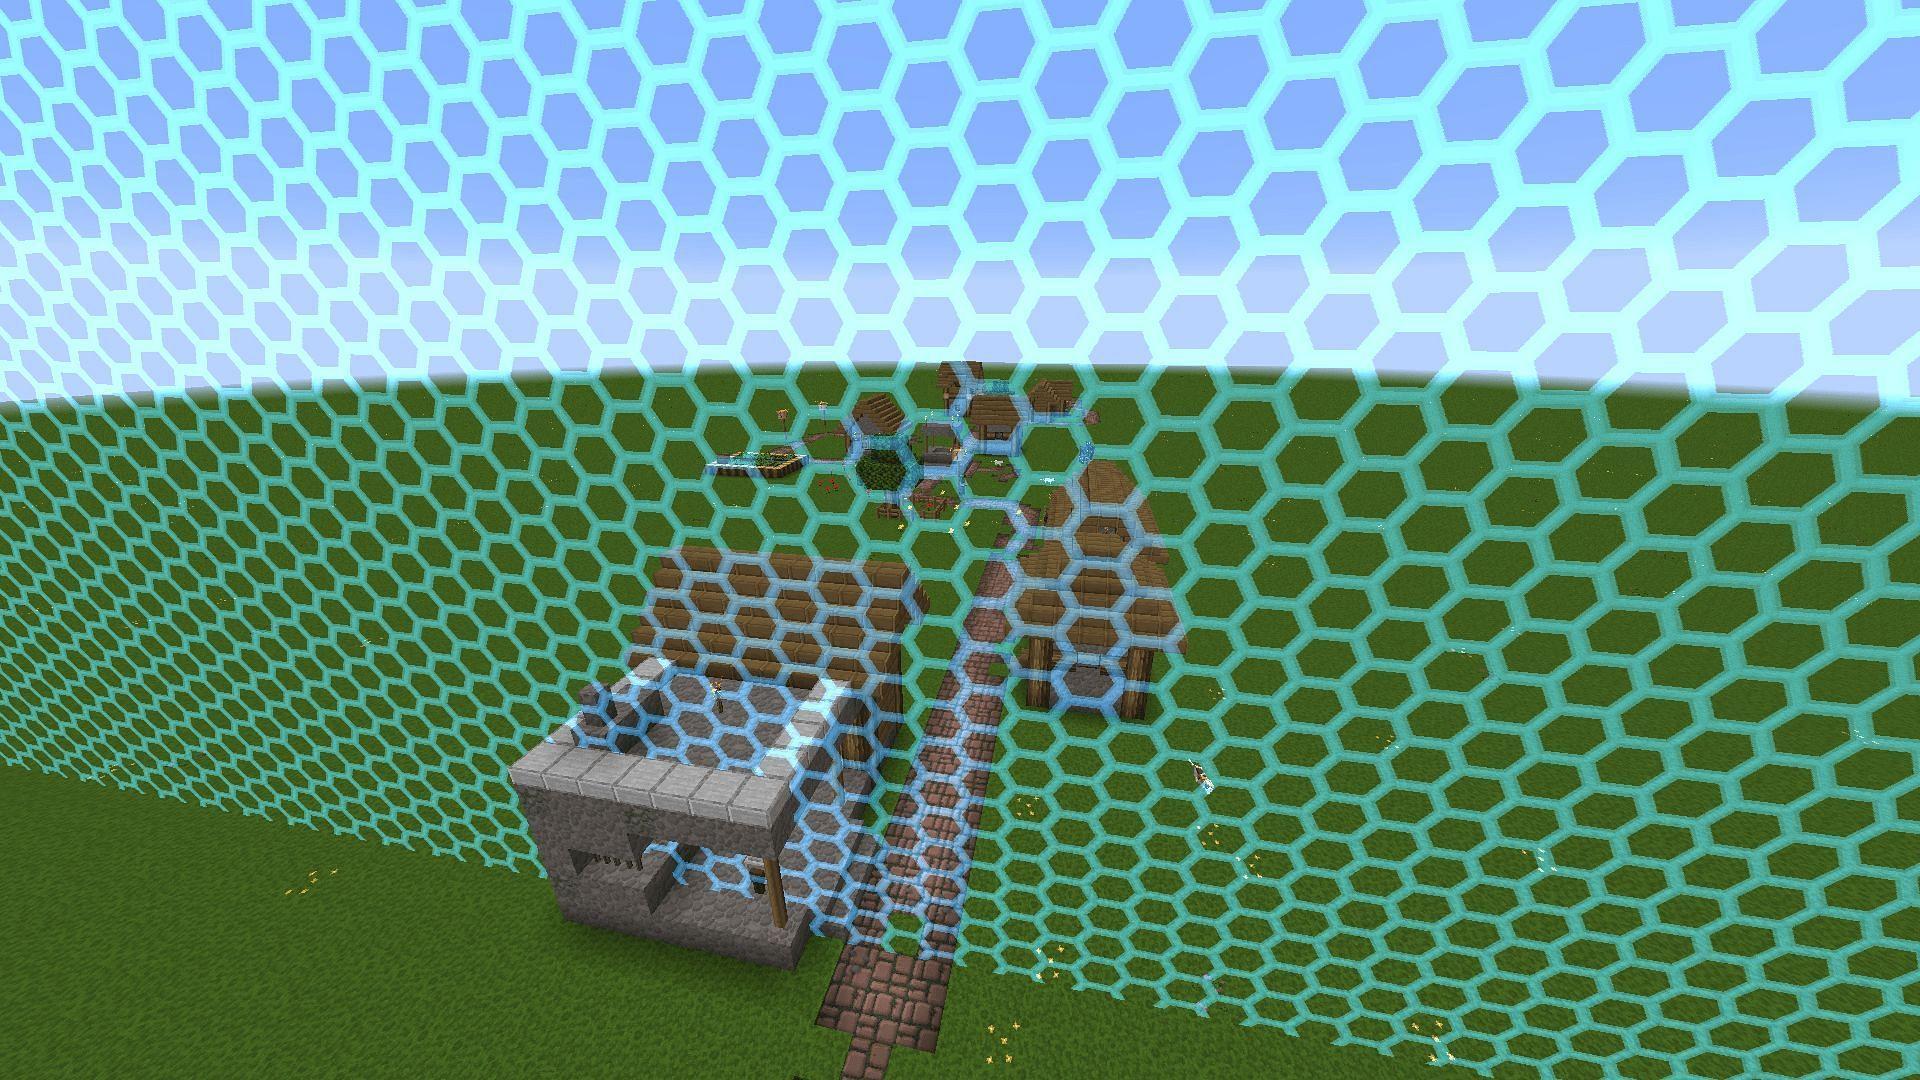
A: Yes! When you set a world border, a visual barrier appears, so players can see where the limits are. It’s a helpful guide and adds an interesting element to the gameplay, giving players a clear understanding of just how far they can go.
Q: Can world borders be used creatively?
A: Definitely! You can use world borders to create unique challenges, events, or mini-games. For instance, you can limit the area for a survival challenge, making it more intense and exciting. Or, if you’re hosting an event, a world border can help keep all the action contained in one place.
Q: Is there a way to remove the world border entirely?
A: Yes, if you decide you want the freedom to explore without limits, just use the command /worldborder set 999999999 (or any very large number). This effectively removes the border, allowing players to venture into the vast Minecraft wilderness!
Q: Where can I learn more about world borders and other commands?
A: The Minecraft Wiki is an excellent resource, packed with information about commands and game mechanics. Plus, YouTube has tons of tutorials and helpful videos that can demonstrate these concepts in action. Dive into those resources, and you’ll become a Minecraft pro in no time!
So, are you ready to set your world border and take control of your Minecraft experience? It’s time to create a world that’s perfectly sized for your adventures! Happy crafting!
Wrapping Up
And there you have it! Setting a world border in Minecraft is not just a simple task; it’s a crucial step to defining the limits of your adventure and enhancing your gameplay experience. By following these steps, you can create a sandbox tailored to your needs, whether you’re building an impressive city, hosting a multiplayer server, or just want to ensure you don’t wander too far from home.
Remember, the world border isn’t just about restriction; it’s about creating a focused space where creativity can flourish. So go ahead, take control of your world, and start crafting the perfect environment for your unique Minecraft journey.
If you have any questions or need further tips, don’t hesitate to reach out or share your experiences in the comments! Now, grab your gear and let’s get building—there’s a whole world waiting for you! Happy crafting!

